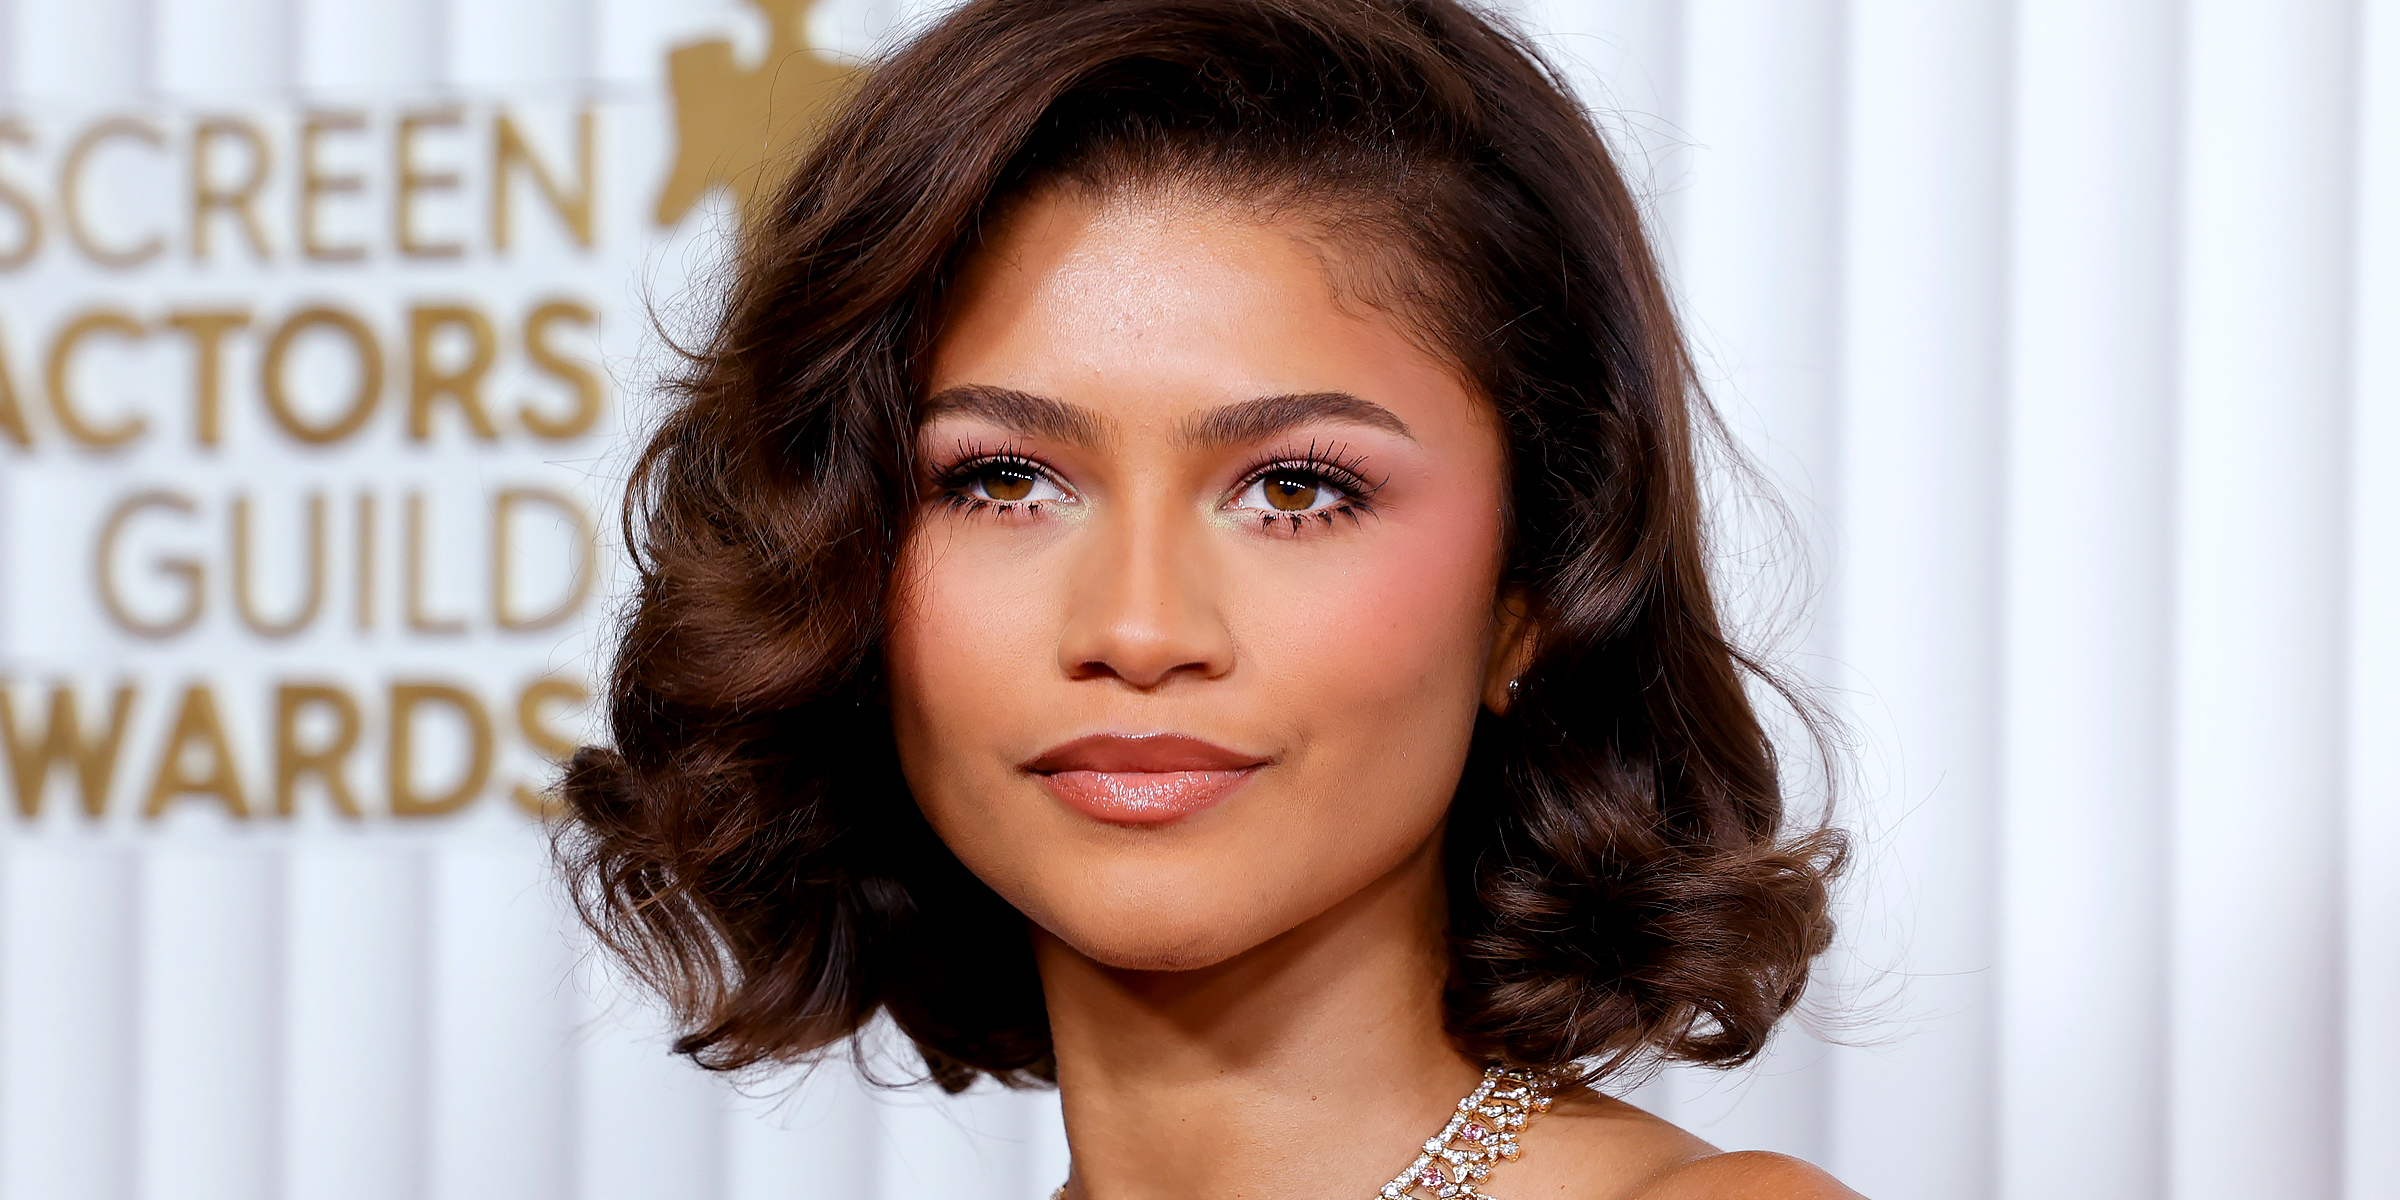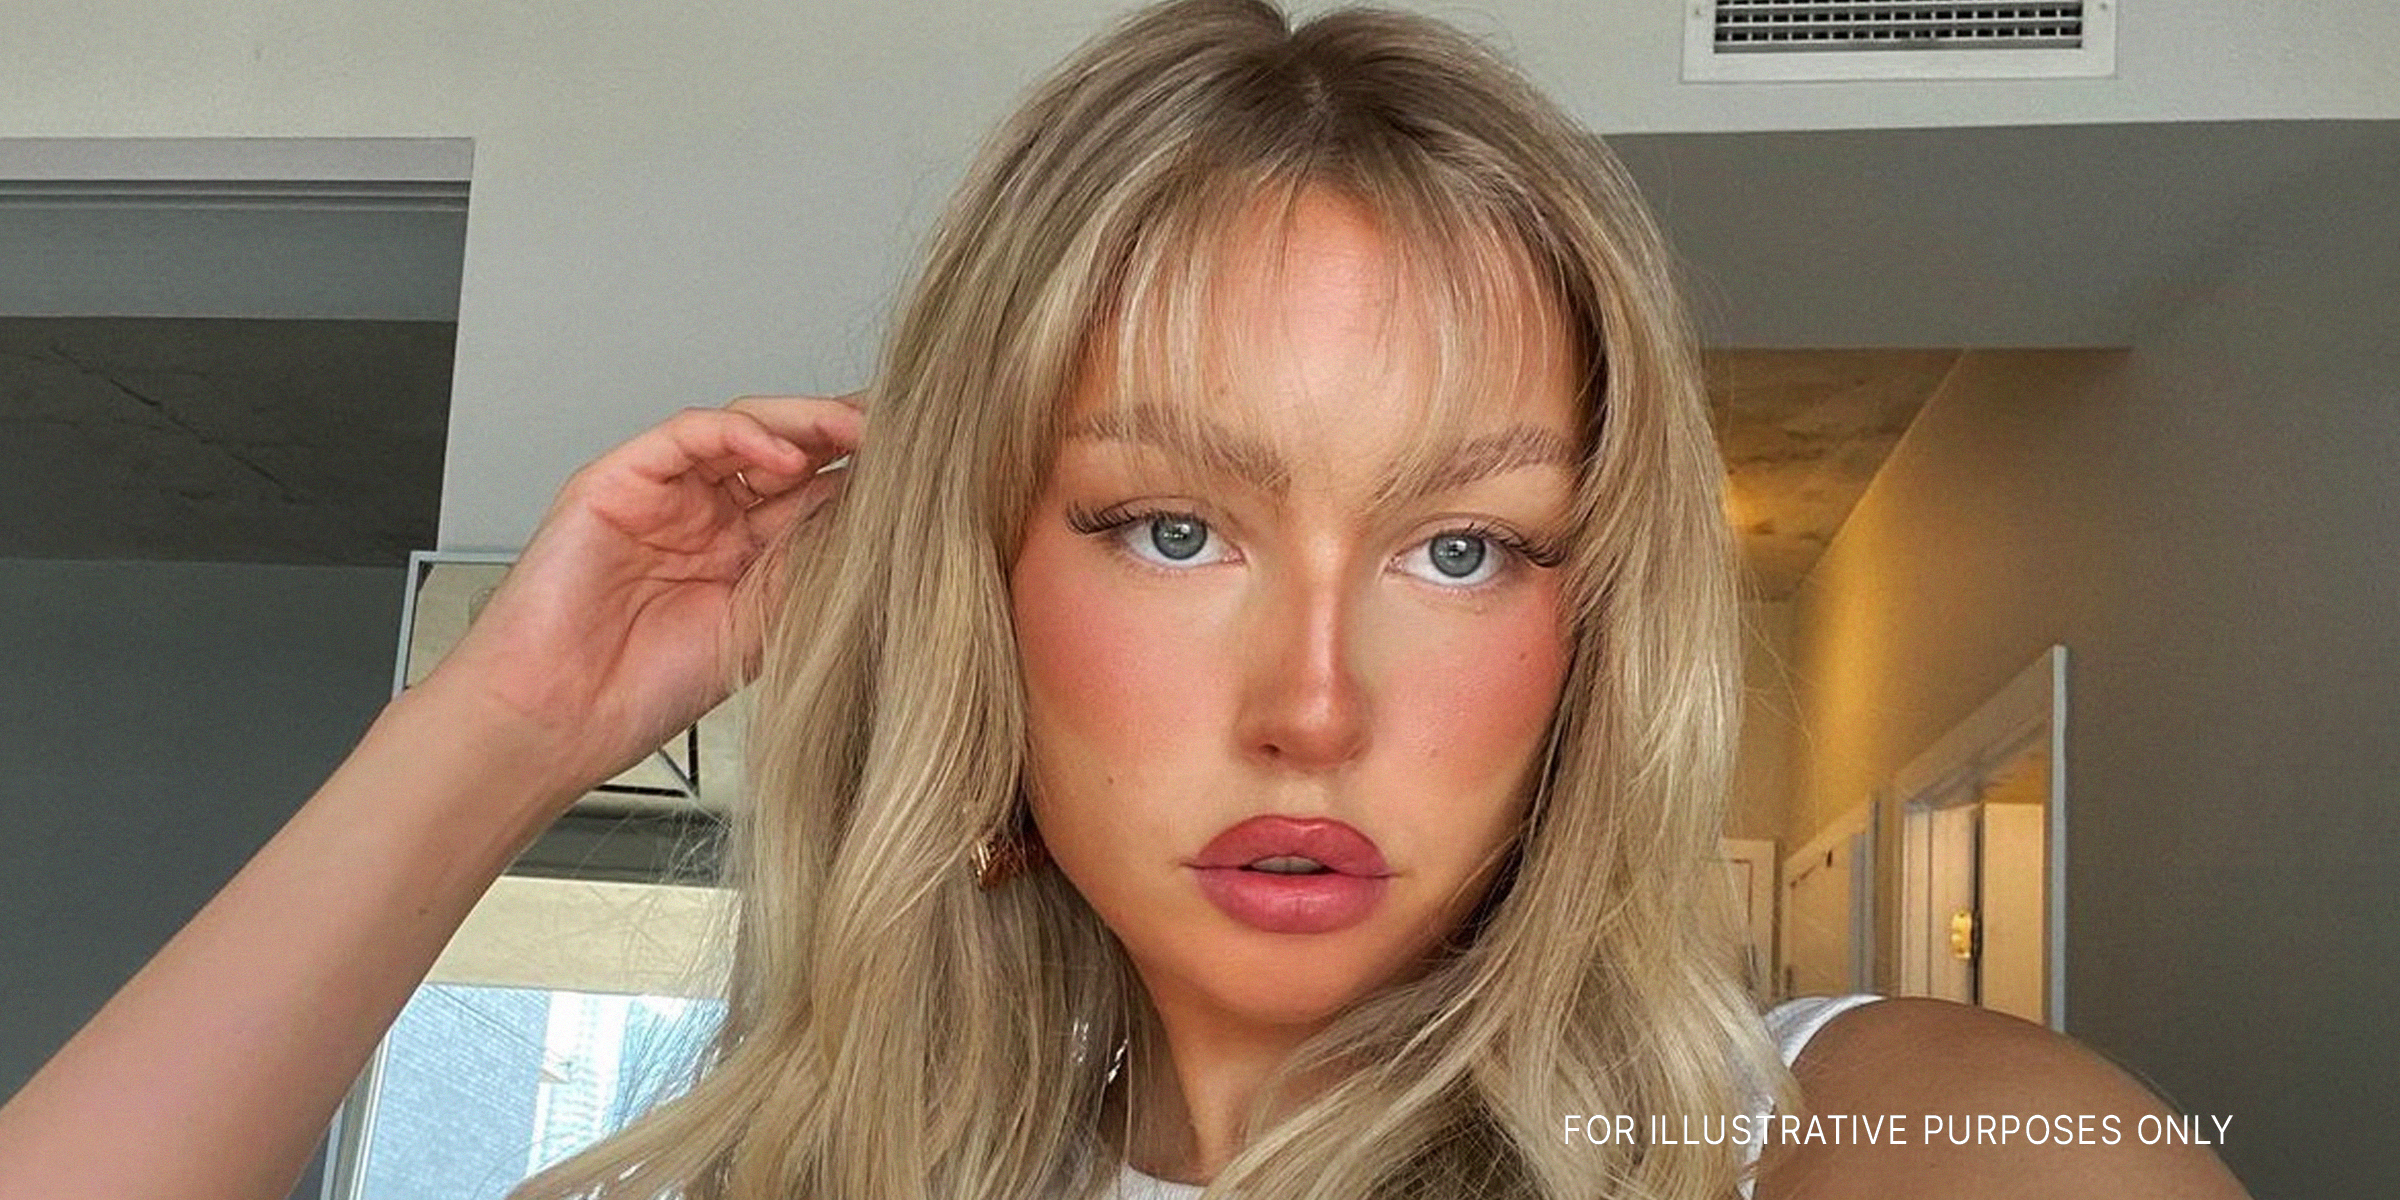
'90s Feathered Bangs — How to Achieve the Classic Look That Is Making a Comeback
Mar 04, 2024


Whether you're prepping for a special occasion or just looking to spice up your daily look, flexible curling rods are your go-to for achieving dreamy curls with ease. Keep reading to learn how to master this game-changing technique and give your hair a healthy, stylish upgrade.
In the ever-evolving world of hair styling, the quest for perfect curls without heat damage leads many to wonder how to use flexible curling rods.
These innovative tools, also known as flexi-rods, offer a gentle yet effective way to achieve beautiful, bouncy curls or add texture to your hair. Made from bendable foam, flexible curling rods come in various lengths and sizes, catering to an array of hair types and styling desires.
If you've ever been intrigued by these styling aids but are unsure of how to begin, you're in the right place. Keep reading for a comprehensive guide on how to use flexible curling rods that will transform your hair game.
Starting with freshly washed hair is crucial for achieving the best results with flexible curling rods. Clean hair, free from product buildup, lays the groundwork for curls that are anything but limp. After washing, applying a light leave-in conditioner will not only infuse your hair with moisture but also make detangling a breeze.
Before introducing any styling products, divide your hair into four to six manageable sections. This simplifies the detangling process and minimizes breakage. Remember, always start from the ends and work your way up to the roots to prevent unnecessary damage.
Next, apply a light-foaming mousse to each section of your hair. This step is essential for holding the curl without reverting your hair back to its natural state. For those with tighter curls, a dab of gel on the ends can help seal them, ensuring a sleeker finish once the rods are removed.
Now comes the fun part: wrapping your hair around the rods. Begin at the ends and use a windmill motion to create spiral curls that boast volume and movement. Position the rods according to the desired direction of your curls, securing them close to the root for a firm hold.
Once all your hair is securely wrapped around the rods, choose between sitting under a hooded dryer for a quick set or embracing a heatless approach by leaving them in overnight. Both methods are gentle on your hair, significantly reducing the risk of heat damage.
When your hair is completely dry, carefully unwind the rods in a counter-clockwise direction to preserve the curl's shape. For added volume and to minimize frizz, separate each curl into smaller sections with oil-coated fingertips. This final touch ensures your curls are defined, bouncy, and ready to make a statement.
Your newly curled hair, courtesy of flexible curling rods, can maintain its allure for up to two weeks, depending on your hair type. To prolong the life of your curls, don a silk or satin bonnet at night, keeping them sleek and smooth.
Mastering how to use flexible curling rods unlocks a realm of styling possibilities, allowing you to achieve gorgeous curls without the risk of heat damage. This step-by-step guide ensures that anyone can create beautiful, long-lasting curls at home.
Now that you know how to achieve flawless curls using flexible curling rods, explore our guide on the benefits of sleeping with a silk hair wrap and how it can help take care of your curled tresses.
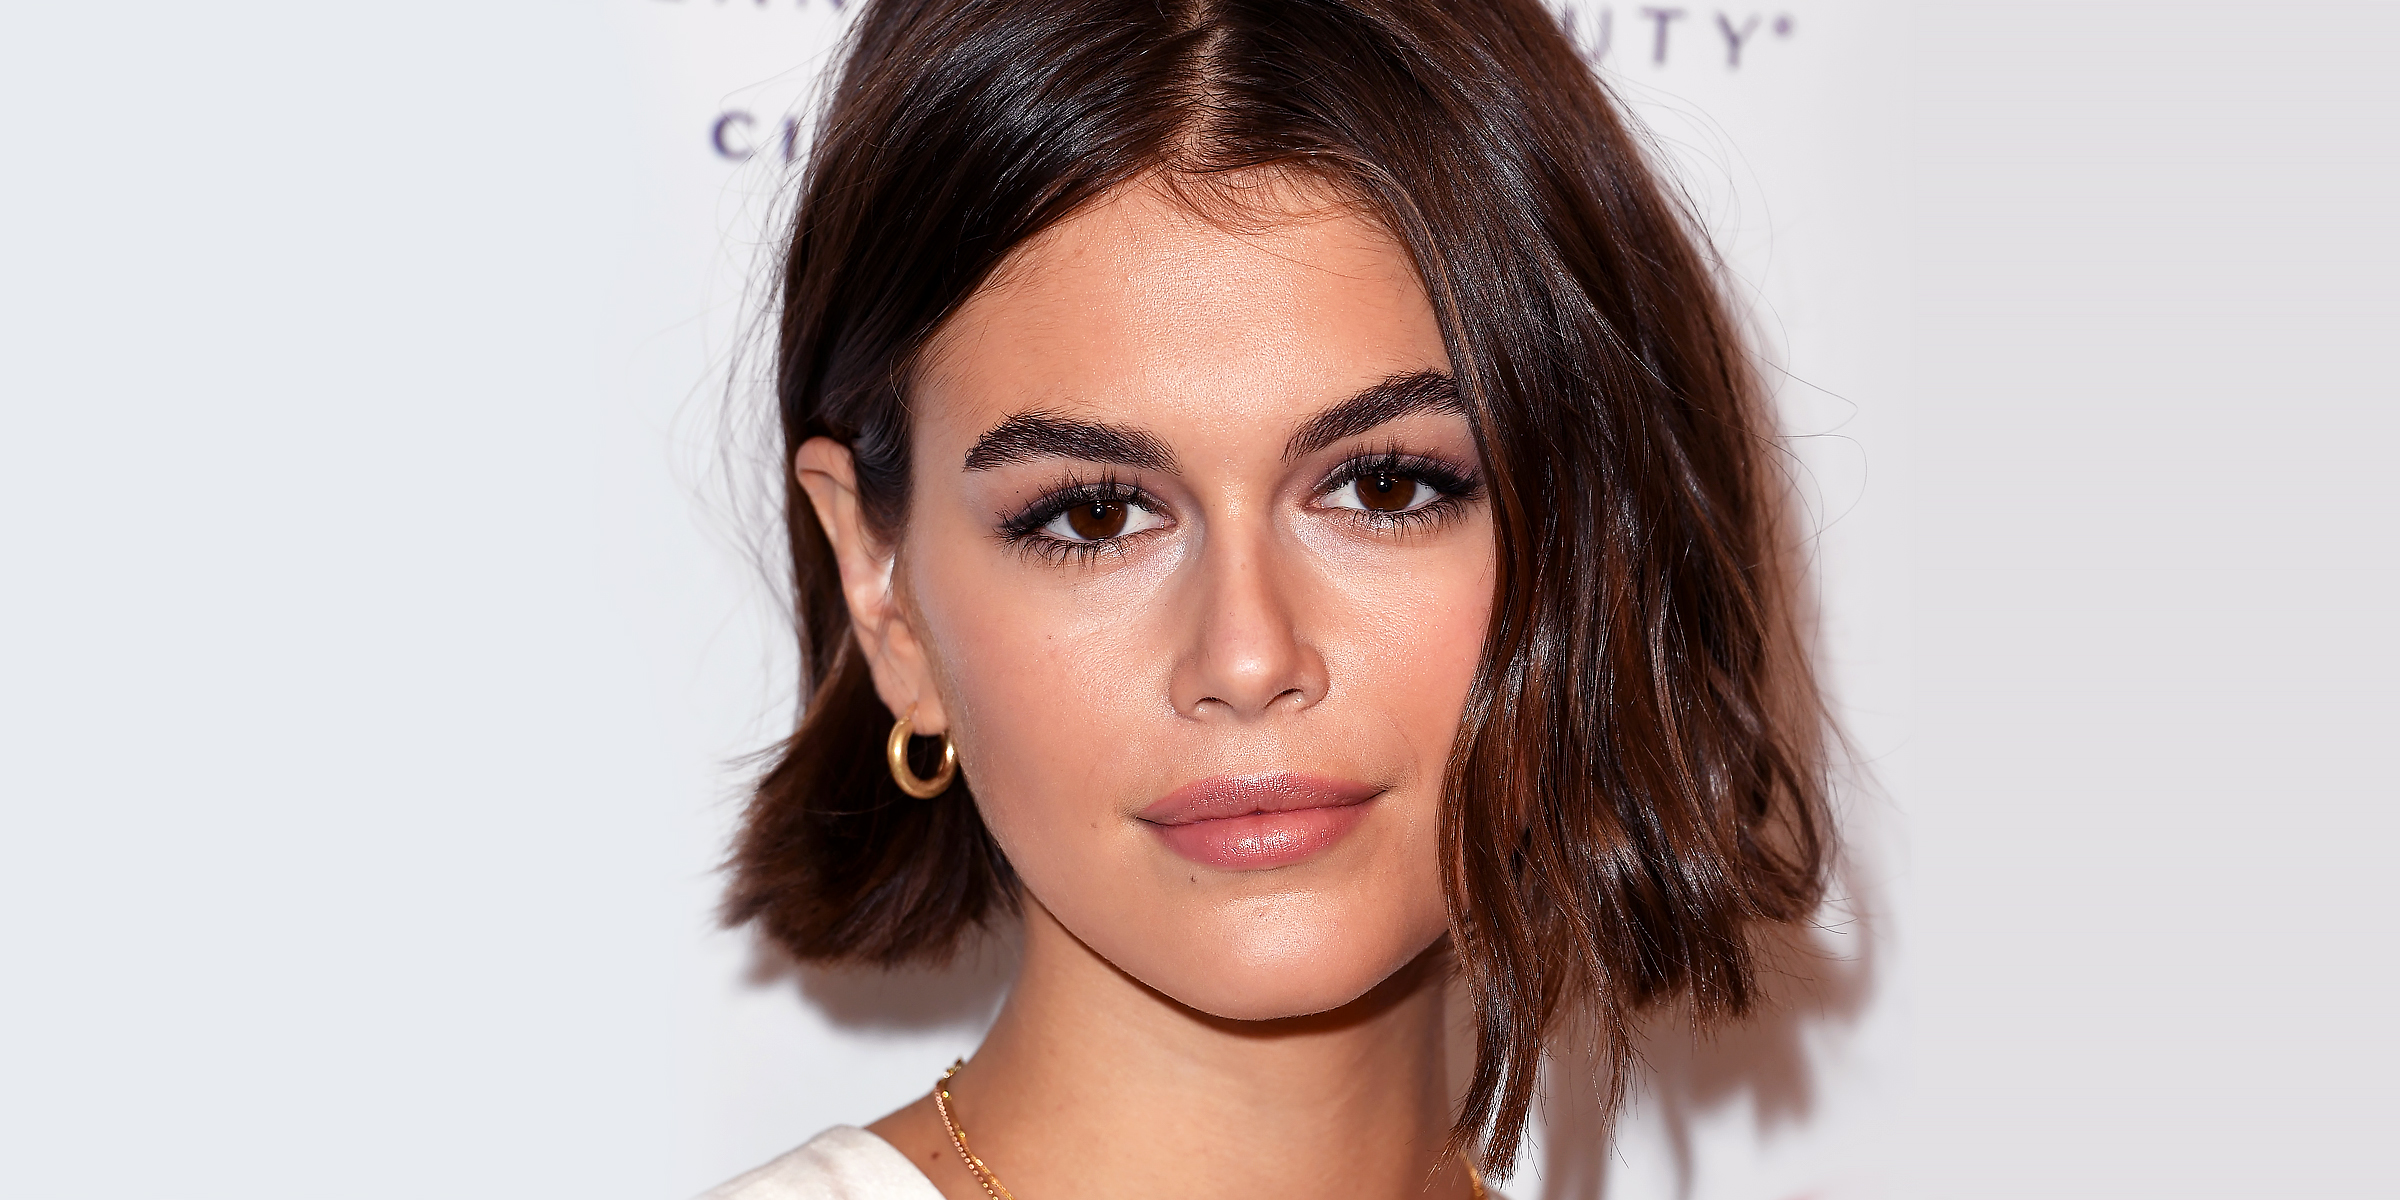
Whether you're a seasoned fan of short hair or considering a bold new change, continue reading for a guide that will unveil the secrets to mastering the effortless elegance of the '60s Italian bob.
Mar 09, 2024

The beauty world is an ever-changing space and has seen the return of the 2000s-inspired white gel nails. Continue reading for five white gel nail designs perfect for everyone — from those with a simpler taste to those who love the dramatics.
Jan 16, 2024
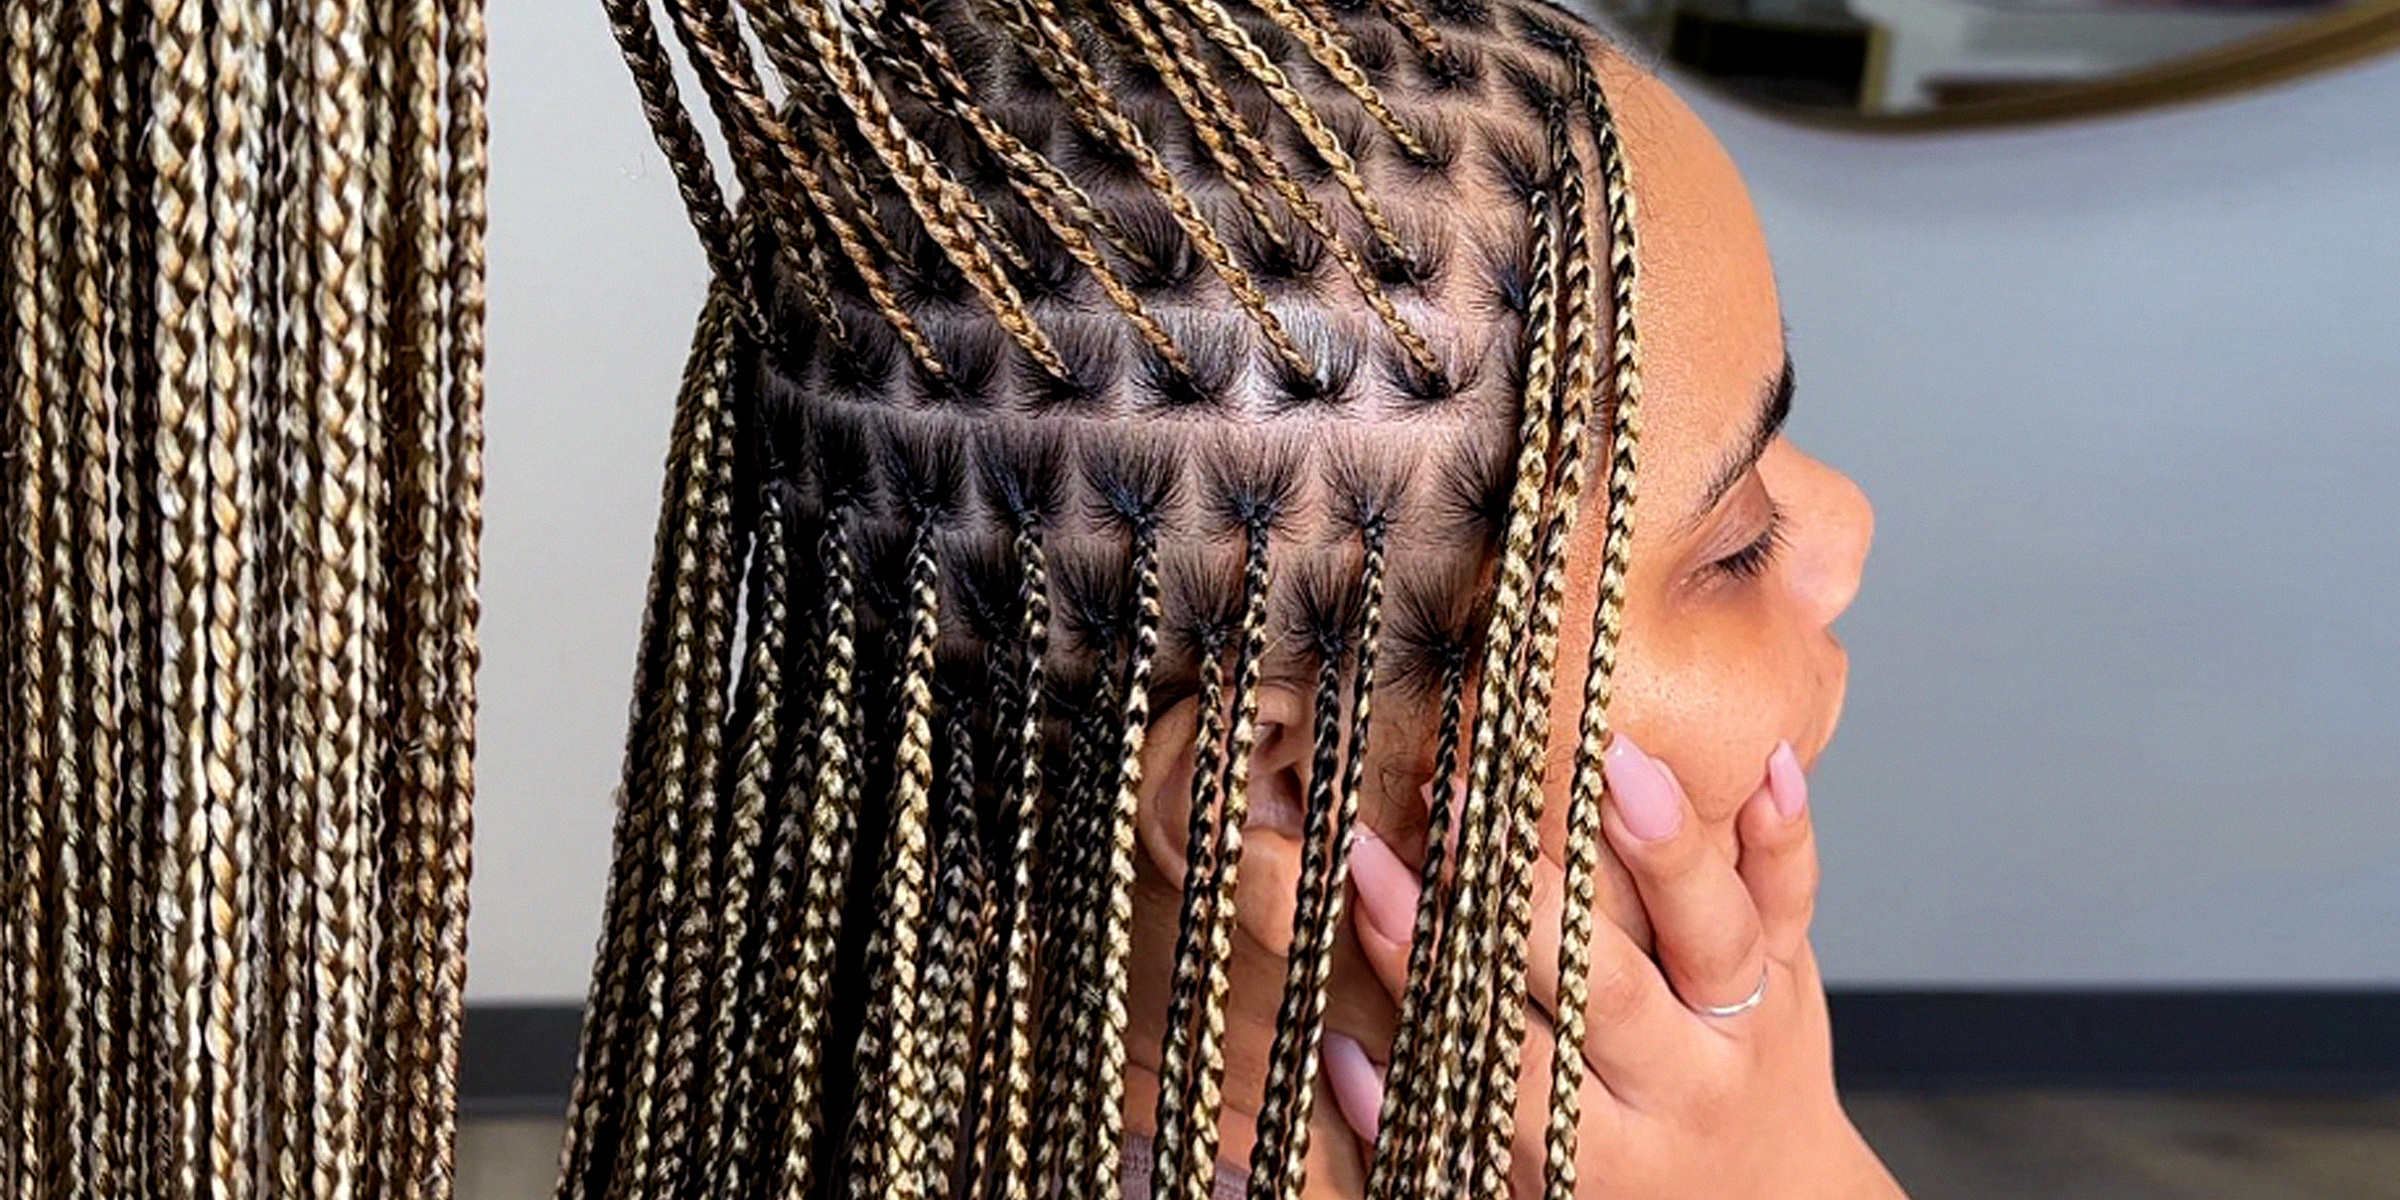
In the ever-evolving landscape of hair styling and protection, knotless braids emerge as a beacon of innovation, particularly for women with thin hair.
Feb 13, 2024

Unveil the boho-chic charm of Bohemian Knotless Braids hairstyles. Discover five stylish variations that promise to transform your look with effortless grace.
Feb 18, 2024
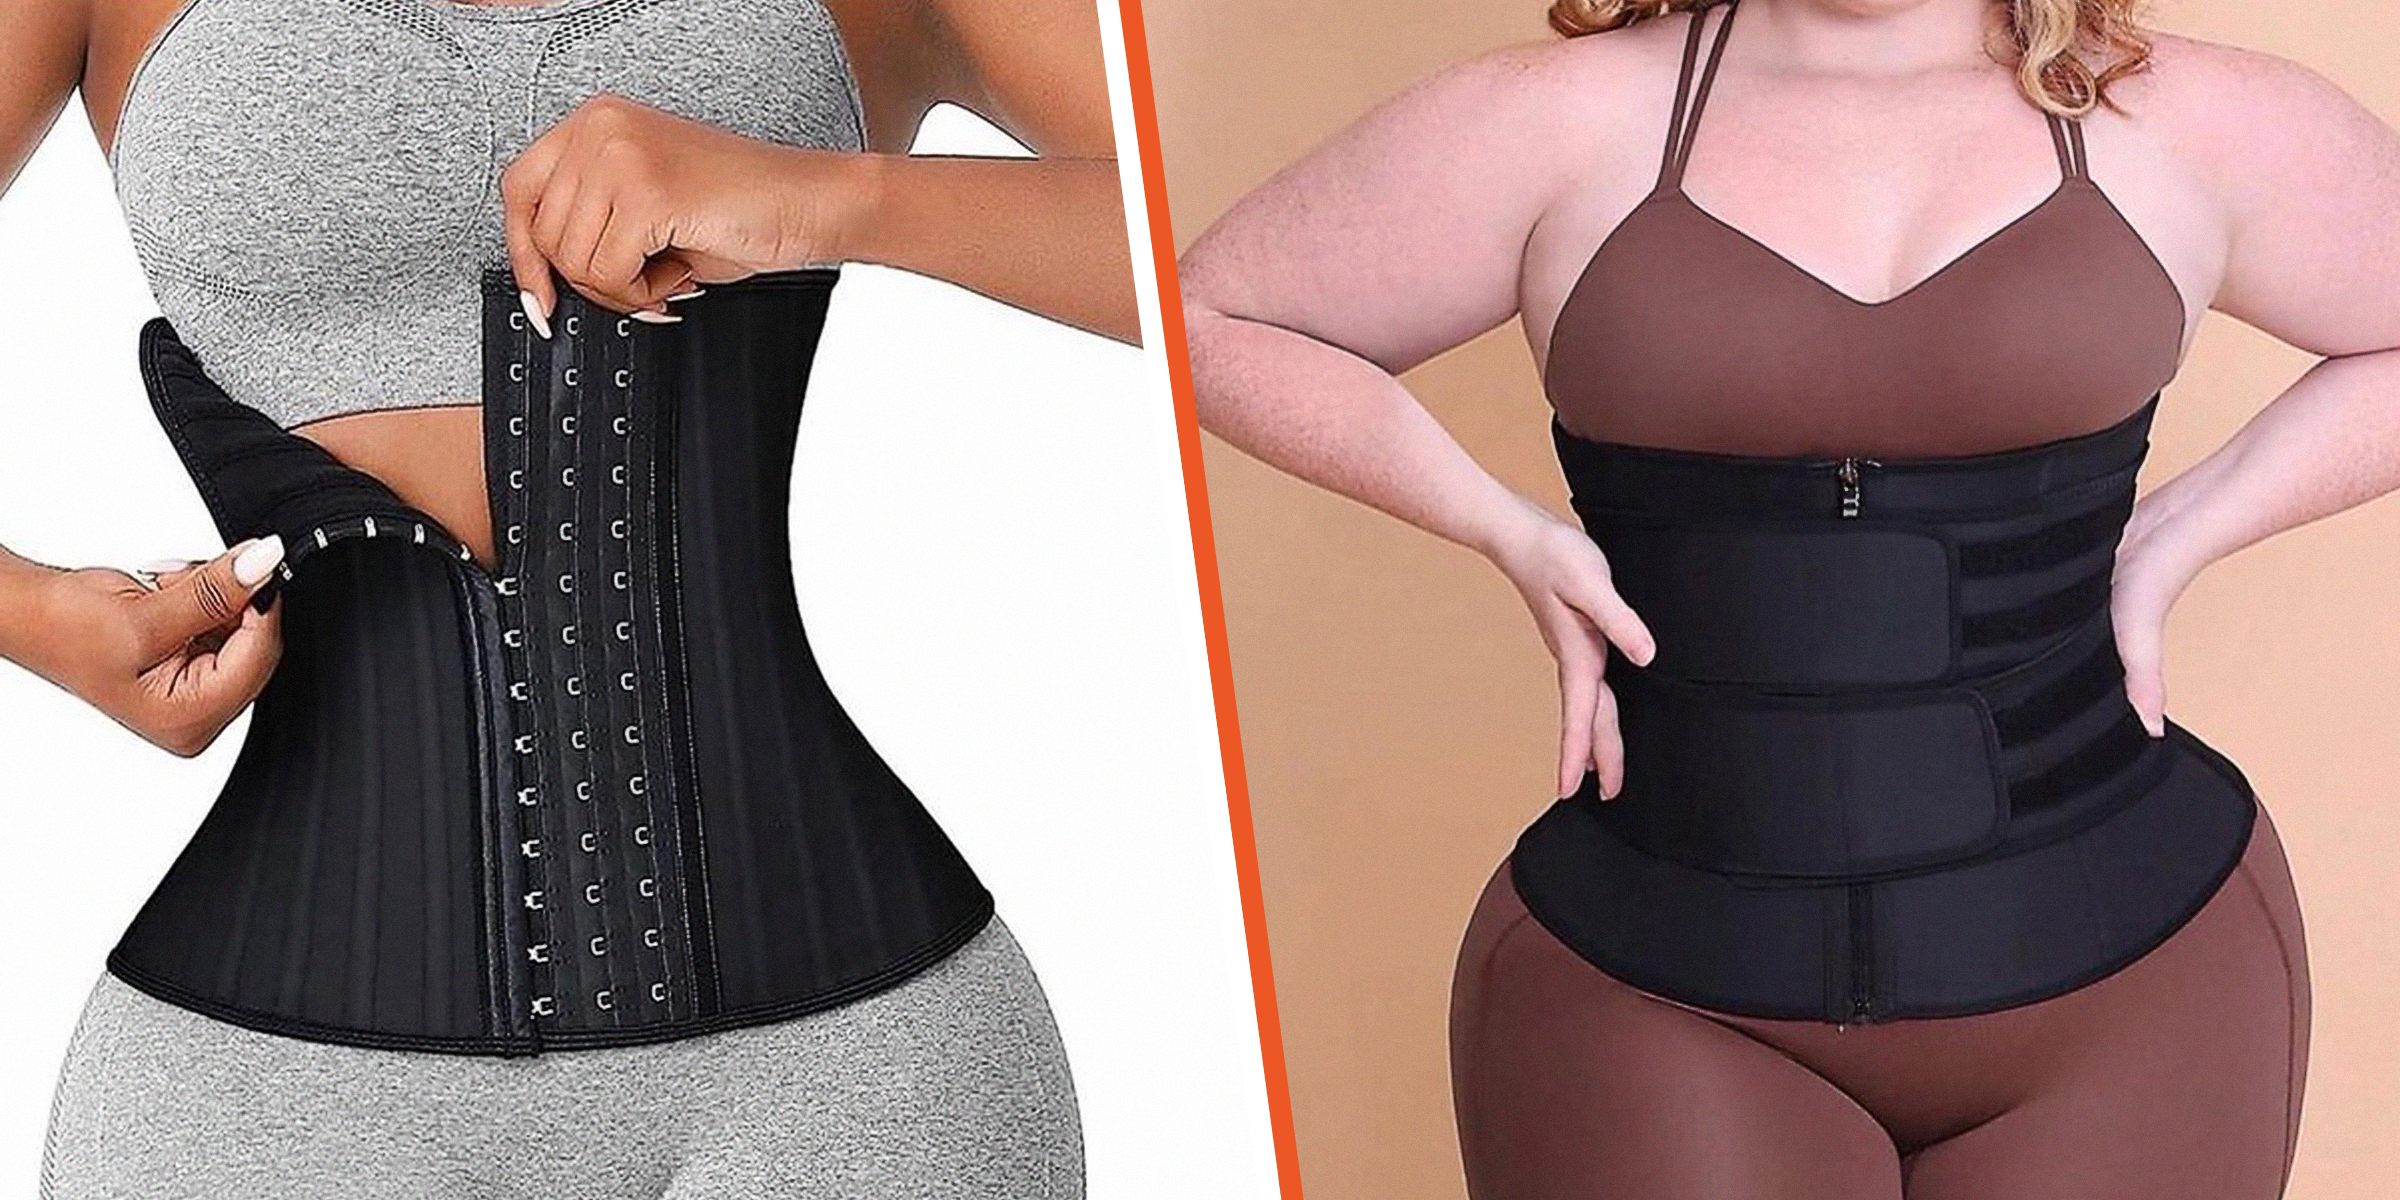
A waist trainer is a corset-like garment many wear to help slim their midsections. Regularly cleaning your waist trainer is hygienic and prolongs the garment's lifespan. Continue reading for two easy methods on how to clean your waist trainer.
Dec 31, 2023

Discover the vibrancy, versatility, and boldness these 6 red braiding hair styles bring, transforming traditional braiding into a striking expression of culture and personality.
Feb 19, 2024

SNS nails has become a popular type of manicure for its alluring pros. However, continue reading for both the pros and cons of SNS nails that you should keep in mind when considering this manicure.
Jan 10, 2024

Learning how to care for your 4c hair can be challenging, as those delicate curls require a lot of time and effort. However, with this detailed guide on how to wash 4c hair, you'll have one less thing to worry about.
Dec 12, 2023
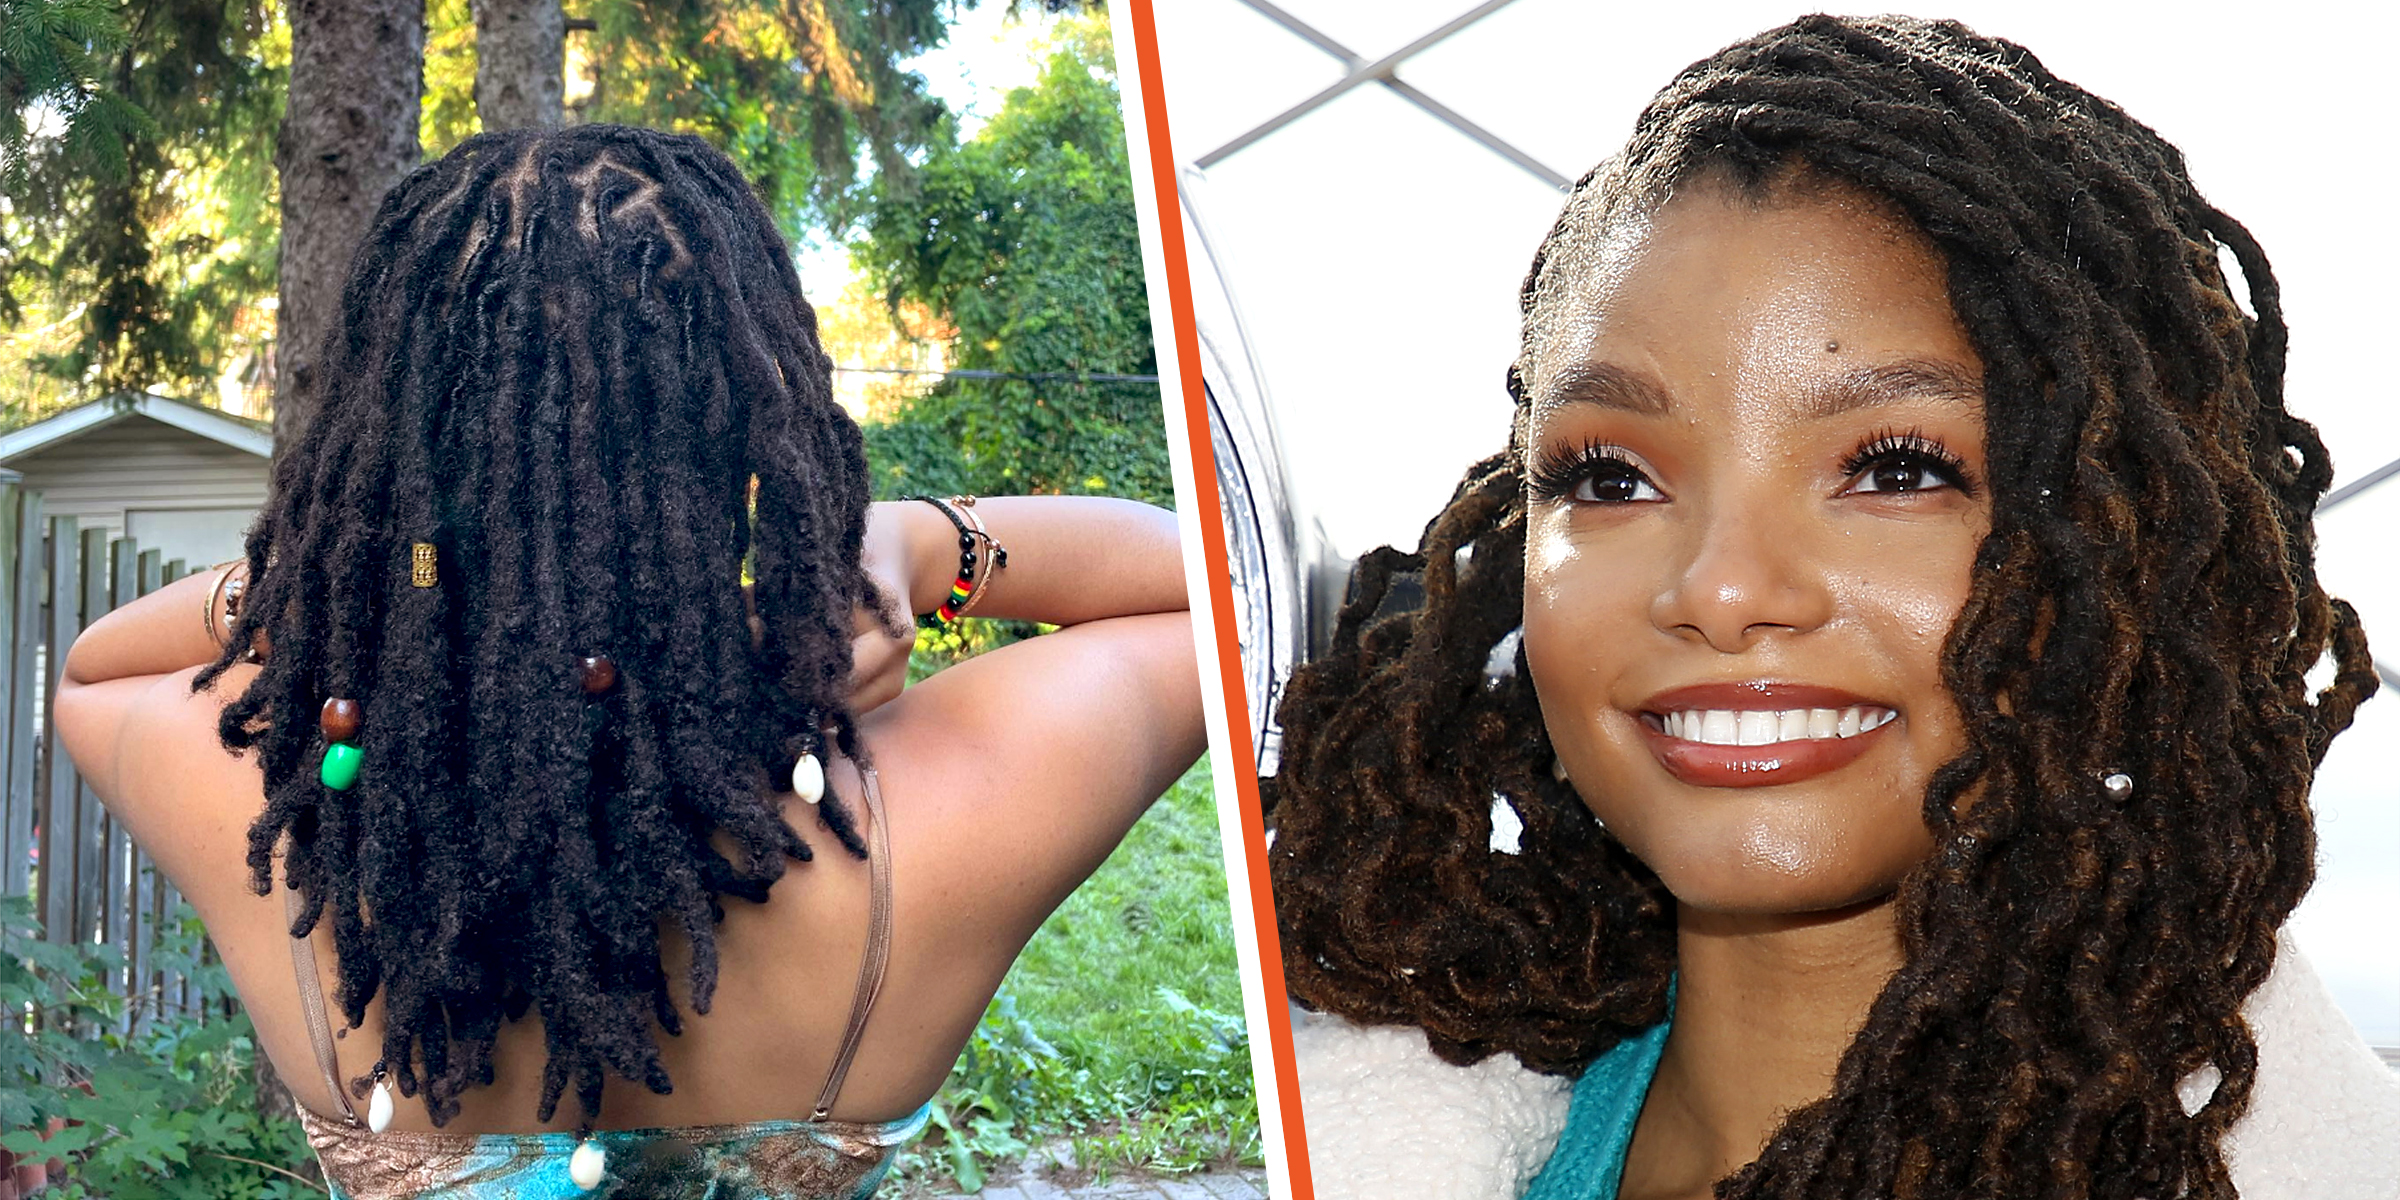
Whether you're ready for a fresh start and to bid your dreadlocks adieu or want to change up your hairstyle, continue reading for five steps on how to comb out your locs and keep damage to a minimum.
Dec 13, 2023

Waist beads are not only a beautiful decorative piece of jewelry worn around the waist believed to influence the shape of a woman's physique, but they are also a profoundly significant piece of many African cultures. Continue reading for a guide on how to tie waist beads.
Dec 22, 2023

The beauty world is an ever-changing landscape, and powder brows, a more natural-looking alternative to micoblading, are the new kid on the block. However, how much do powder brows cost?
Feb 17, 2024

To avoid getting an infection or other health complications, properly cleaning your belly button piercing is of the utmost importance. Continue reading for ways to clean the newly pierced area and helpful aftercare tips.
Jan 19, 2024

Wrapping your hair at night is a great way to protect your tresses. However, read further to learn more about the benefits of sleeping with a silk hair wrap and how it not only protects your locks but promotes hair growth.
Jan 24, 2024

Bronzer is a cosmetic staple in most makeup bags as it is the perfect way to create a sun-kissed glow. If your skin falls on the fairer side of the color wheel, Kosas, Physicians Formula, and Fenty Beauty have some of the best bronzers for fair skin.
Jan 13, 2024